
Table of Contents
Step-by-Step Guide: Conducting a Charging Test from 0 to 100% Using an Android App
Are you curious about the charging performance of your Android phone? Conducting a charging-test can give you valuable insights into your phone’s battery health and performance. In this guide, we will walk you through the step-by-step procedure on how to conduct a charging-test from 0 to 100% using an app on an Android mobile.
Step 1: Download and Install a Charging Test App
The first step is to download and install a charging-test app from the Google Play Store. There are several options available, such as
- AccuBattery
- BatteryGuru
- BatteryBot
- Ampere
- CPU-Z
- Battery Monitor
- Battery Health
- Battery Life
- Easy Battery Saver
- Battery Saver Pro
- Battery Doctor
- Greenify
These apps offer a variety of features, such as tracking battery usage, estimating battery health, and monitoring charging speed. When choosing a charging test app
Step 2: Make Sure Your Phone is Fully Discharged
Before starting the charging-test, ensure that your phone’s battery percentage is at 0%. If it is not, you can drain the battery by using your phone normally or running a battery-intensive task like playing a game or watching a video.
Step 3: Plug in Your Phone to Charge
Connect your phone to a power source using the original charger that came with your device or a compatible charger. It is essential to use a reliable charger to ensure accurate test results.
Step 4: Open the Charging Test App
Launch the charging-test app on your Android device. Most apps will automatically start the test once your phone is connected to the charger.
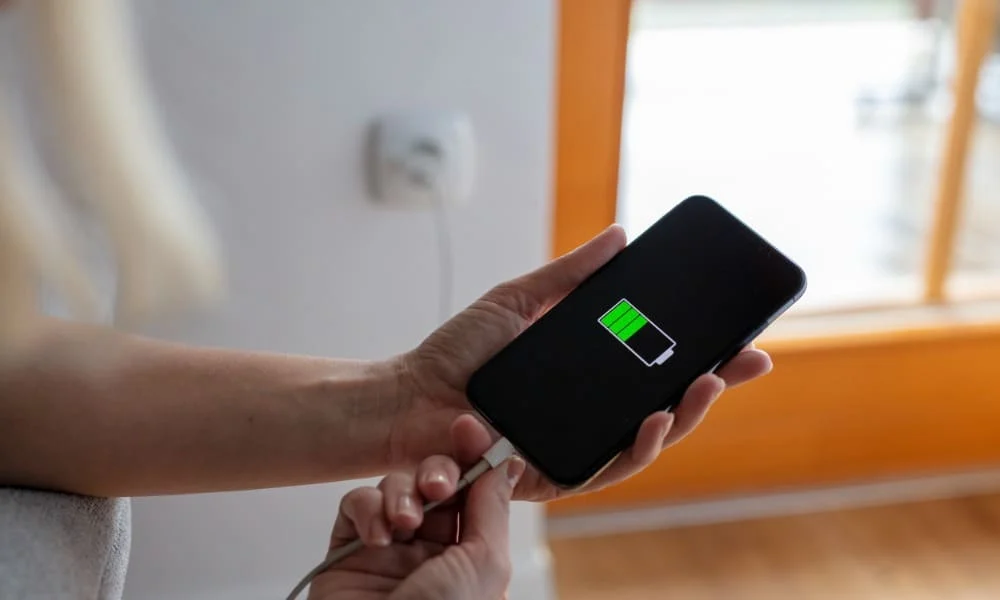
Step 5: Wait for the Test to Complete
Allow the app to track the charging-time and other important metrics like the charging current and battery temperature. The app will provide real-time updates on the progress of the charging-test.
Step 6: Review the Test Results
Once the charging test is complete, the app will display the results. These results will typically include:
- Charging time from 0 to 100%
- Charging current
- Battery temperature
- Battery health
Review the test results to gain insights into your phone’s charging performance. If you notice any abnormalities or discrepancies, it may indicate an issue with your phone’s battery or charger.
By conducting regular charging tests, you can monitor the health of your phone’s battery and make informed decisions to optimize its performance. We hope this step-by-step guide has been helpful in conducting a charging test from 0 to 100% using an Android app. Enjoy a more accurate understanding of your phone’s charging capabilities!
Tips for conducting a charging test:
- Make sure your phone is in Airplane Mode while the test is running. This will prevent any background apps from using the battery and affecting the results of the test.
- Do not use your phone while the test is running. Using your phone will slow down the charging process and affect the results of the test.
- Keep your phone in a cool, well-ventilated area while the test is running. High temperatures can reduce the battery’s performance and affect the results of the test.
- If you are testing multiple chargers, be sure to use the same cable with each charger. This will ensure that the only variable is the charger itself.
Interpreting the results:
The results of a charging-test can help you to identify any potential problems with your phone’s battery or charger. For example, if the charging time is significantly longer than usual, this may indicate that your battery is degraded or that your charger is not working properly. Similarly, if the battery temperature is too high, this may indicate a problem with your phone’s battery or charging circuitry.
If you are concerned about the results of your charging-test, you should contact the manufacturer of your phone or charger for further assistance.
Additional tips for improving your phone’s battery life:
- Keep your phone’s software up to date. Software updates often include battery optimizations.
- Reduce the brightness of your phone’s display. The display is one of the biggest battery drains on most smartphones.
- Disable features that you don’t use, such as Bluetooth, GPS, and Wi-Fi.
- Avoid using your phone while it is charging. This can generate heat and reduce the battery life.
- Use a battery-saving mode when your phone’s battery is low. Most smartphones have a battery-saving mode that can extend the battery life by reducing the performance of certain features.
Fast Charging Tips and Tricks for Android Mobiles
Fast charging is a technology that allows you to charge your Android phone’s battery much faster than using a standard charger. It is a convenient feature to have, especially if you are often on the go and need to top up your battery quickly.
There are a few things you can do to get the most out of your Android phone’s fast charging capabilities:
1. Use the original charger.
The original charger that came with your phone is the best option for fast charging. It is designed to work specifically with your phone and will provide the fastest charging speeds. If you lose your original charger, you can purchase a replacement from the manufacturer of your phone.
2. Use a high-quality cable.
The quality of your charging cable can also affect the charging speed. A high-quality cable will have a lower resistance, which will allow the current to flow more easily to your phone’s battery. Avoid using cheap or damaged cables, as they can slow down the charging process and even damage your phone’s battery.
3. Keep your phone cool.
Heat can slow down the charging process, so it is important to keep your phone cool while it is charging. Avoid charging your phone in direct sunlight or in hot environments. You can also use a cooling fan to help keep your phone cool while it is charging.
4. Disable unnecessary features.
When you are charging your phone, it is a good idea to disable any unnecessary features, such as Bluetooth, Wi-Fi, and GPS. This will help to reduce the drain on the battery and allow it to charge faster.
5. Put your phone in Airplane Mode.
Putting your phone in Airplane Mode will disable all wireless connections and background apps. This can help to speed up the charging process by reducing the drain on the battery.
6. Use a fast charging power bank.
If you need to charge your phone on the go, you can use a fast charging power bank. A fast charging power bank will allow you to charge your phone at the same speed as you would using a wall charger.
7. Keep your phone’s software up to date.
Software updates often include battery optimizations and bug fixes. Make sure that your phone’s software is up to date to ensure that you are getting the best possible charging performance.
Here are some additional tips and tricks for fast charging your Android mobile:
- Use a fast charging adapter. Fast charging adapters are typically able to deliver more power to your phone, which can result in faster charging times.
- Use a fast charging cable. Fast charging cables are designed to support higher current levels, which can also lead to faster charging times.
- Avoid using your phone while it is charging. Using your phone while it is charging can slow down the charging process.
- Close any unnecessary apps. Running apps can continue to use battery power even when your phone is asleep. Closing any unnecessary apps can help to improve charging times.
- Restart your phone regularly. Restarting your phone can help to clear any temporary glitches that may be affecting the charging process.
If you are not sure whether your phone supports fast charging, you can check the manufacturer’s website or the phone’s manual.
Common fast charging problems and how to fix them
Here are some common fast charging problems and how to fix them:
- Phone is not charging fast. This could be due to a number of factors, such as using a standard charger, using a low-quality cable, or having a hot phone. Try using the original charger, using a high-quality cable, and keeping your phone cool while it is charging.
- Phone is not charging at all. This could be due to a problem with the charger, cable, or phone itself. Try using a different charger and cable, and restarting your phone. If you are still having problems, contact the manufacturer of your phone for further assistance.
- Phone is getting hot while charging. This is normal, but it is important to keep your phone cool to avoid damage. Try using a cooling fan or placing your phone on a cool surface while it is charging.
Conclusion
Fast charging is a convenient feature that can save you time when you need to charge your Android phone quickly. By following the tips above, you can get the most out of your phone’s fast charging capabilities and keep your battery healthy.
We appreciate your interest in our content. For more in-depth information, we invite you to read our comprehensive article on this The Ultimate Guide to 5G Home Internet vs Fiber: Which One Is Faster, Cheaper, and More Reliable? We hope you find it informative and engaging.
- Kalki 2898 AD Team Wishes for DeadpoolAndWolverine highly anticipated
- Unlock Exciting Deals: Buy 1 Get 1 Free Tickets for ‘Bad Newz’ on BookMyShow!
- Jio 395 Plan with 84 Days Validity with Unlimited 5g
- Yashika Women Art silk Sarees SDPL-METRO
- Lifelong LLGS118 ISI Certified Glass Manual Gas Stove (2 Burners)
I hope this extended article was helpful. Please let me know if you have any other questions.